This is a post from Belinda Del Pesco’s Art Blog Belinda Del Pesco.

- This article explores how to create a drypoint engraving print using black plexiglass instead of traditional copper.
- Learn techniques for beveling plexiglass plates for use with a printing press, ensuring compatibility with printing materials.
- Using opaque plexiglass improves visibility during mark-making and simplifies the printing process.
- The article discusses creative alternatives for printing without an etching press, such as using vehicle tires or pasta makers.
- Experimenting with watercolor on drypoint prints can add unique finishes, enhancing overall creativity.
Drypoint Engraving Print from Black Plexiglass Instead of Copper
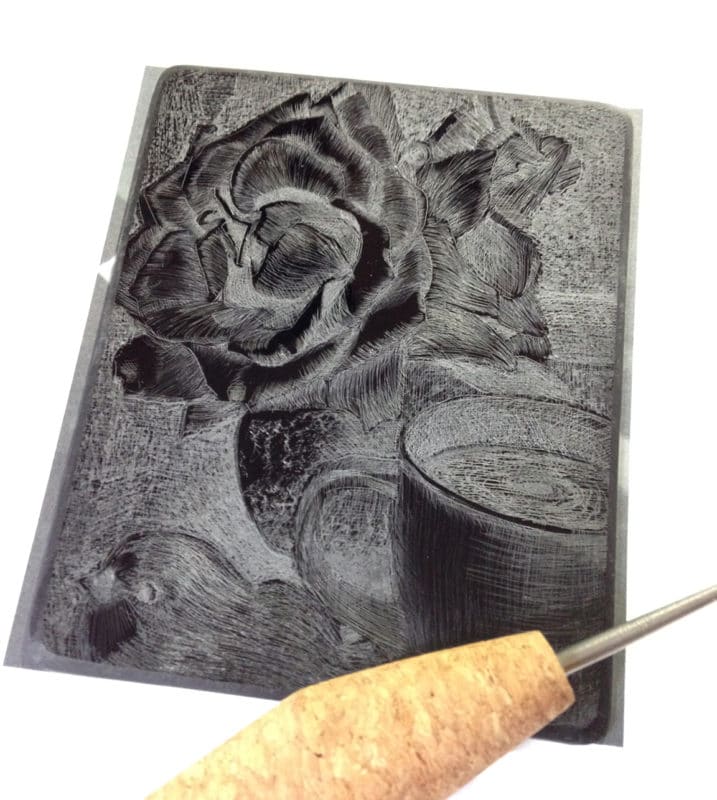
Let’s look at how to make a drypoint engraving on plexiglass. The drypoint print in this post was an experiment with inexpensive plastic plate material, instead of the traditional copper plates used in drypoint printmaking.
In recent years, I’ve done drypoint etchings and engravings on clear plexiglass plates. The line work can be hard to see while drawing into the clear plastic with your scribe or needle.
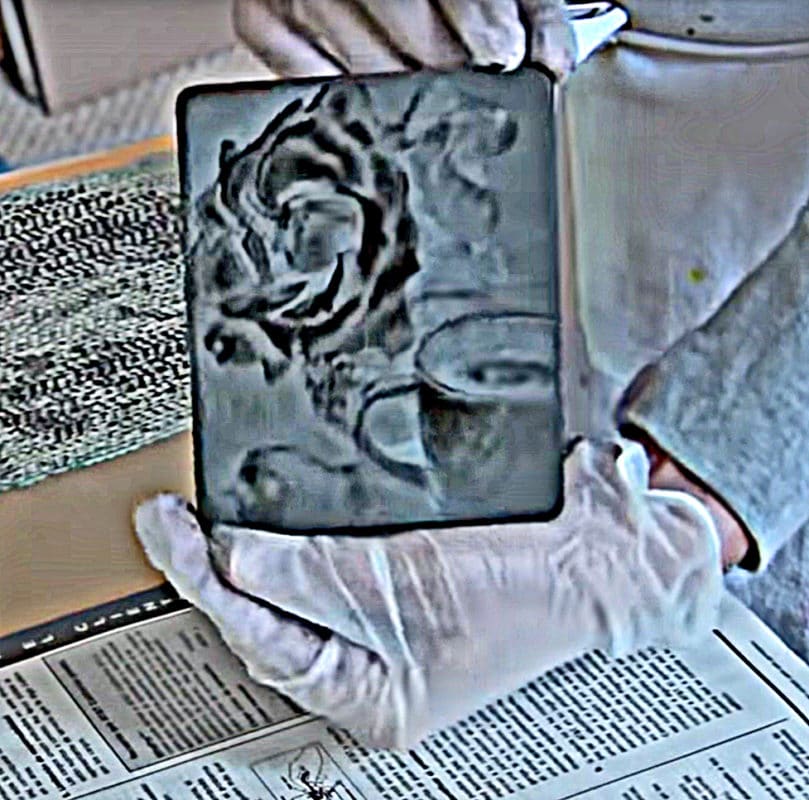
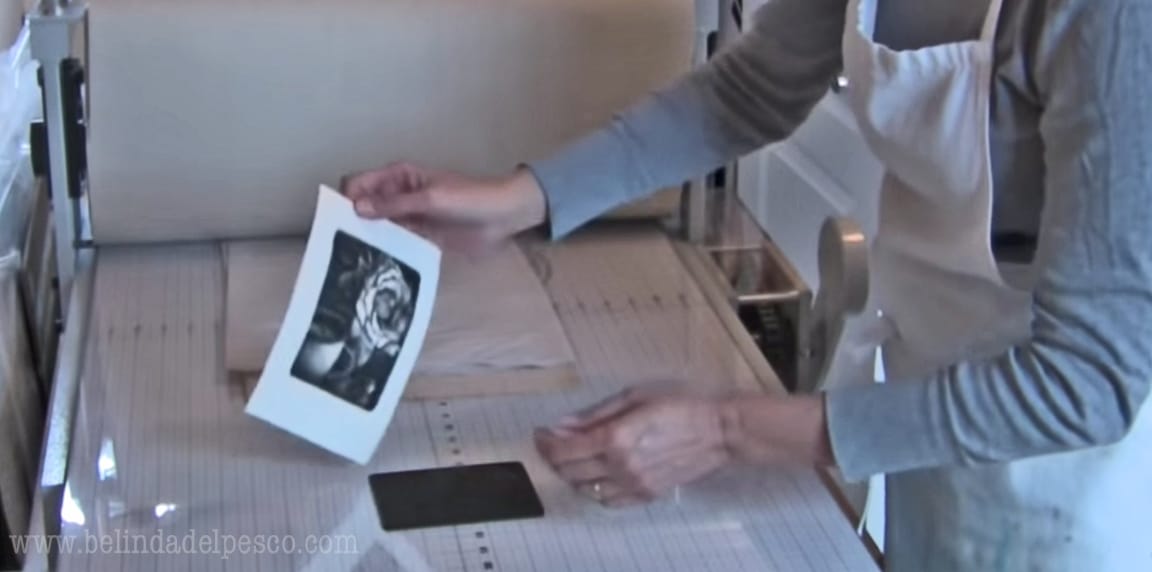
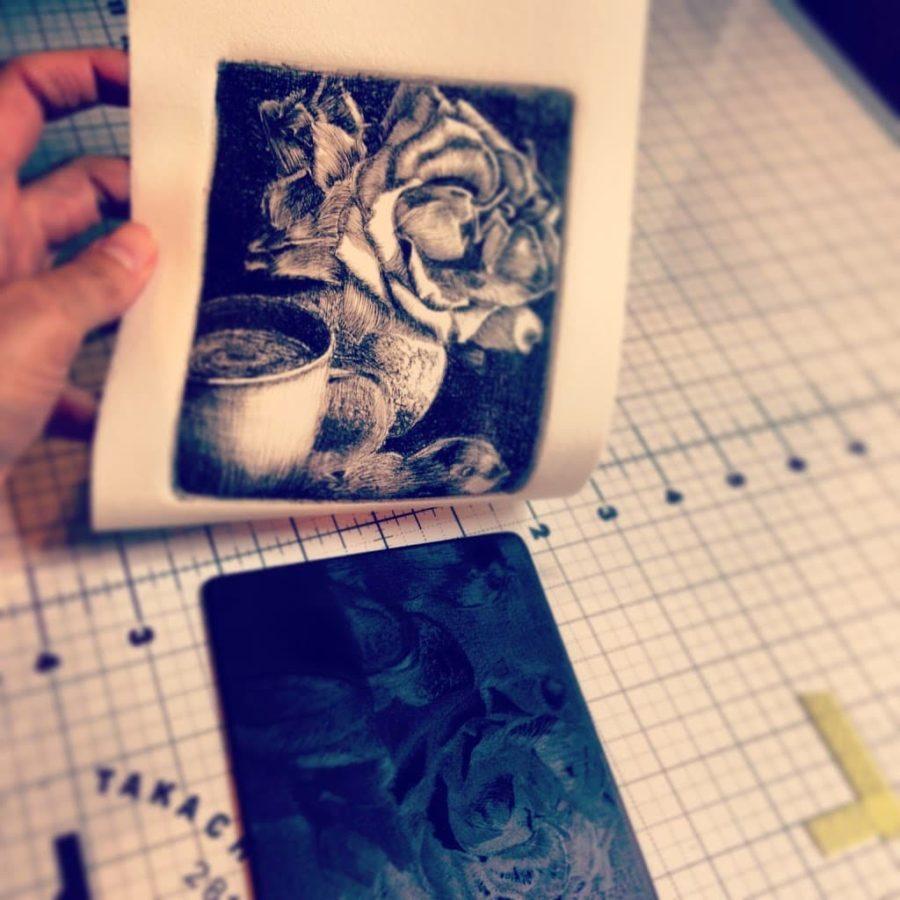
I bought a sheet of opaque black plexiglass on amazon to see if my mark-making would be more evident on the darker acrylic. I scored and snapped the sheet into several pieces to make multiple prints (see that in the video below). It worked!
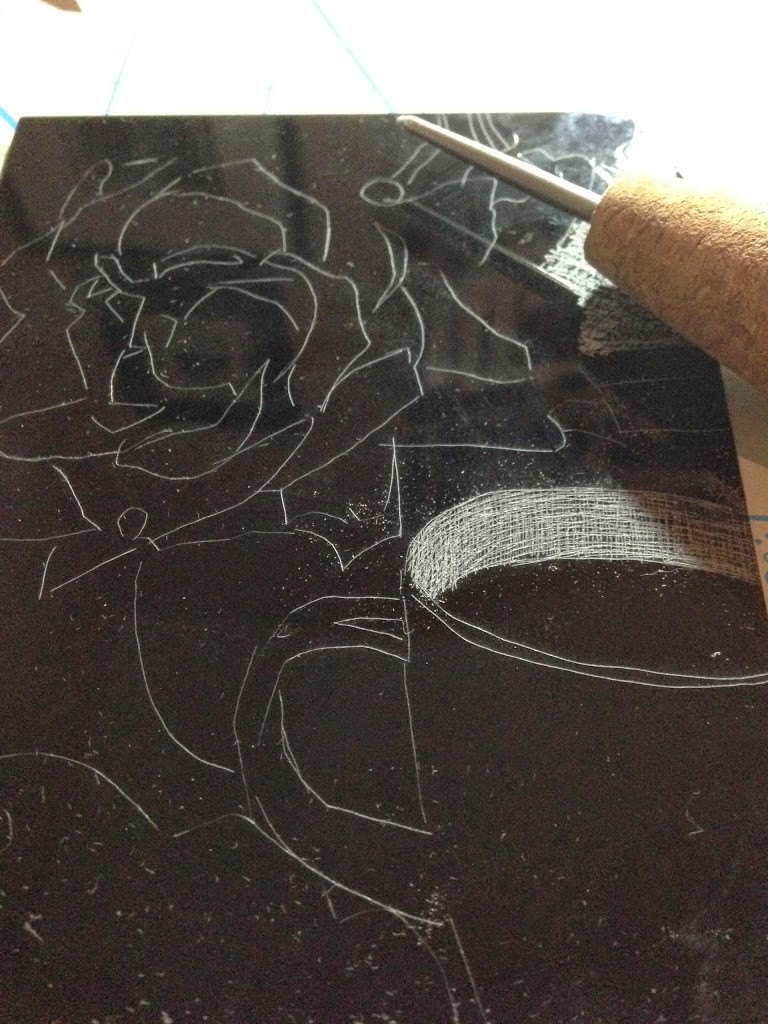
Drypoint Printmaking on Inexpensive Plexiglass Acrylic
Drypoint is a very old, traditional form of printmaking, and examples of gorgeous prints transferred from copper plates can be seen in museum collections all over the world.
If you’re printing on a press, you’ll need to bevel the edges of your acrylic or plexiglass plate so you don’t cut through your printing paper or the press blankets.
Your plate and paper stack is going under the cylinder of the press at an enormous rate of pressure to transfer the image from plate to paper. Here is a video to show you how to bevel a plexiglass plate before printing on a press. And if you do bevel your own plates, this tiny sanding block kit is my fave for the last steps of the beveling process.

Mixing Drypoint Engraving with Relief Print
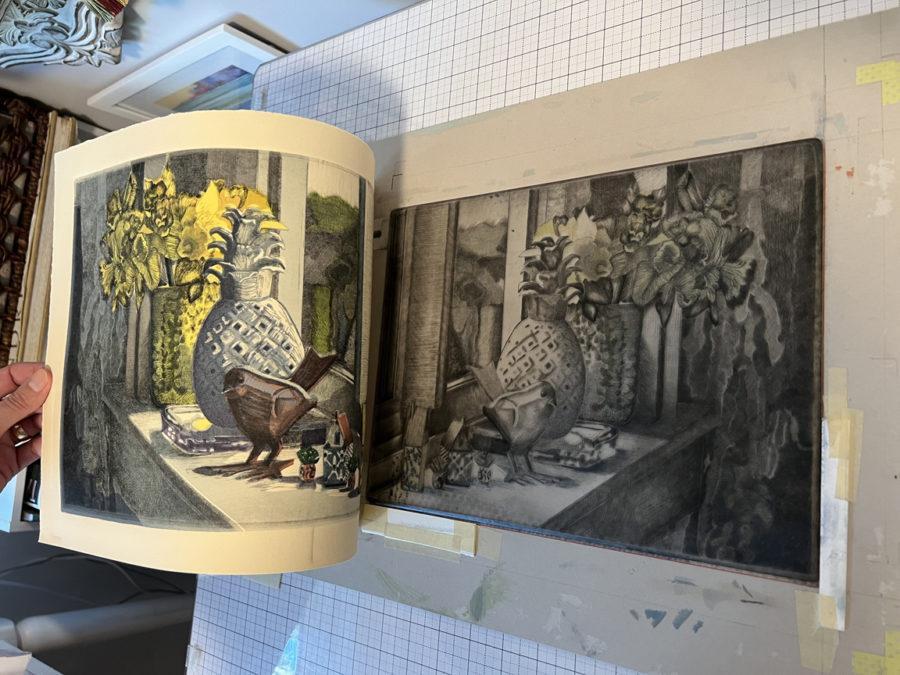
Another benefit of working on acrylic or plexiglass to create drypoint etchings is that you can use the see through material to register the mark making over a relief print. This example (below) is a reduction linocut for the color layers, and a drypoint engraving from plexiglass to add the black ink crosshatch and details.
Round Up of Drypoint Print Resources
- This post covers drypoint printmaking made from drafting film, or mylar.
- Here is a 3.5 minute overview of a figurative drypoint from a sheet of clear plexiglass.
- Wendy Thompson writes about drypoint printmaking from the Department of Drawings and Prints at the Metropolitan Museum of Art.
- Catherine Brooks from Crown Point Press published a drypoint video excerpt from a DVD on printmaking. This video segment on drypoint uses traditional copper plates, but it’s a great visual on the drypoint printmaking process.

Drypoint Print Supplies and Tools
The repetitive nature of scribing cross hatching and line work into a sheet of plastic might be a bit much if your hands or fingers are tender. An effective option is to use a Dremel engraving tool (like this one) with a variety of tips you can test on a practice piece of acrylic.
If you choose this route, be sure to wear a face mask or respirator while working on your acrylic sheet, as it’s not safe to breath the fine material the Dremel kicks off the plate, especially as the friction may warm the Poly (methyl methacrylate).
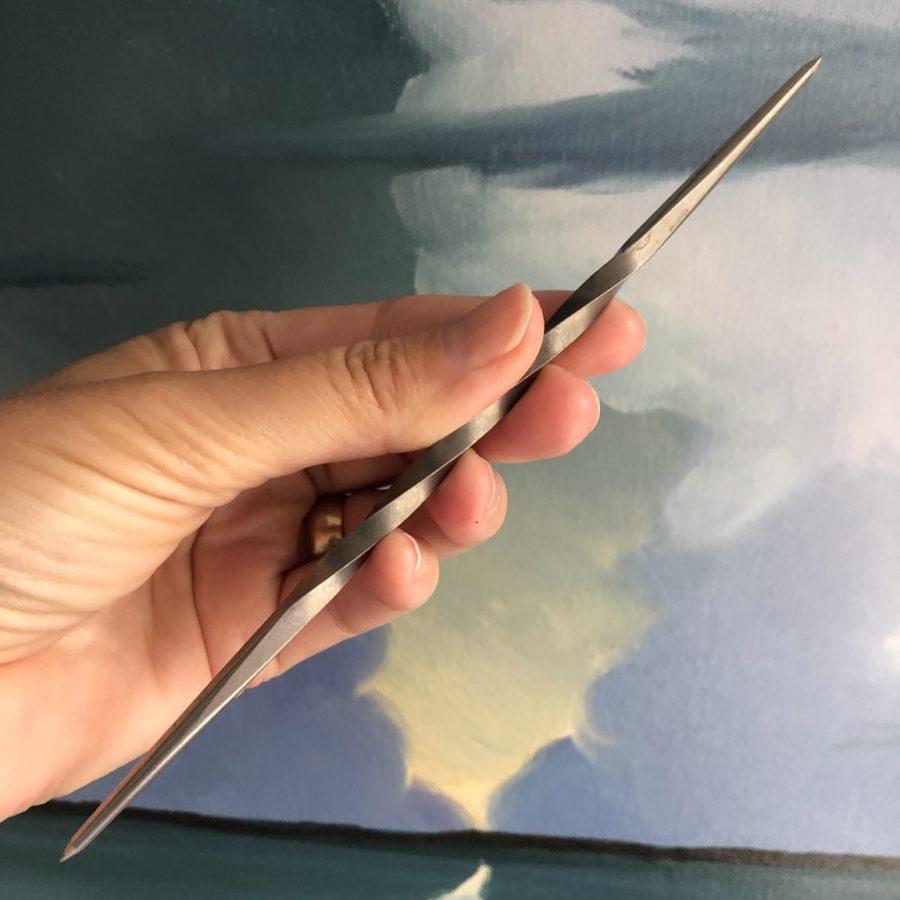
I use a twisted scribe (below) on most of my drypoint engravings. It’s simple and traditional, and not expensive (see it here).
Can You Print a Drypoint if You Don’t Have an Etching Press?
I wouldn’t recommend doing a hand transfer of a detailed, cross hatched drypoint, because the paper will move as you rub back and forth on the back of the paper. Instead of a single sweep of pressure like you’d get from a cylinder rolling over your plate and paper stack, any repeated rubbing will cause contact with your inked lines in more than one place on the paper.
As an alternative, artists and print lovers have come up with some inventive workarounds. Folks have driven their vehicle tires over their drypoints, fit petite plates through pasta makers, and altered stencil cutters into effective little table top presses.
- Colin Blanchard has a whole group on Facebook dedicated to sharing plans and details to transform a stencil maker into a printing press. Here is a blog post he published all about making a craft press.
- Here is an intriguing post by artist Annie Day in Australia, using the pressure in a small, inexpensive die cutting machine to print her drypoints, etchings, linocuts and collagraphs.
- Have a look at this post about small printing press alternatives that include pasta makers and embossing machines.
- Printmaker Sally Hirst did a fabulous comparison of die cutting machines to use as alternatives to presses on her You Tube Channel.

Adding Other Pigments to a Drypoint
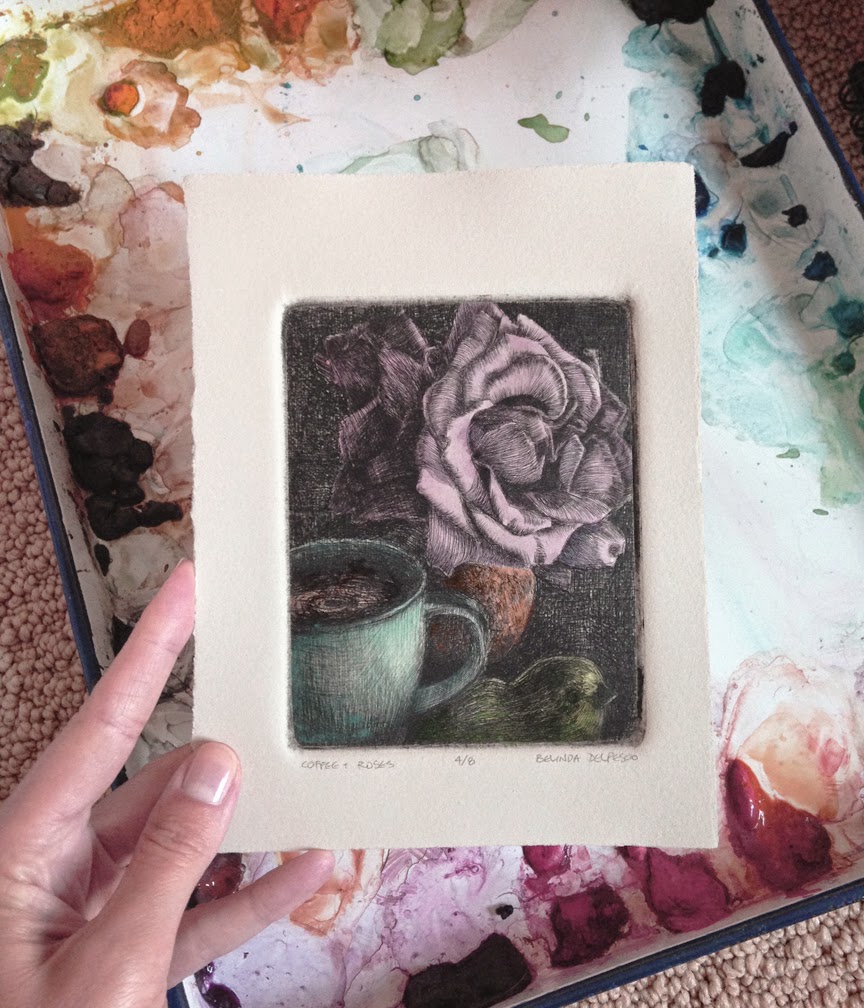
As long as you use intaglio ink that dries permanently (it can be water-wash-up, but NOT water-soluble after it dries), you can add watercolor or gouache to your prints.
I love experimenting with watercolor on all sorts of printmaking, and I did paint a few of the prints in this edition with watercolor. (I used ink on the print that would not re-wet after it dried.)
Drypoint Printmaking Experiments
If you’ve always thought drypoint required an entire printmaking lab, and sheets of copper and chemicals, I hope this post and the links included for further reading inspires you. Make a drypoint that’s *super simple* at first, Just a few lines, and no crosshatching until your third or fourth plate.
A number of years ago, I make this tutorial video on drypoint engraving for a high school teacher house with her students. It has helpful tips and materials listed as links in the More Info text under the video window. The students in her class sent me hysterically adorable examples of their work, and I was delighted to see they “got” the basics of the process.
Happy printing to you, and I’ll see you in the next post!
Belinda
P.S.
Art Quote
You don’t have to be great to start, but you have to start to be great. ~Zig Ziglar

The post Drypoint Engraving Print from Black Plexiglass Instead of Copper appeared first on Belinda Del Pesco’s Art Blog Belinda Del Pesco.